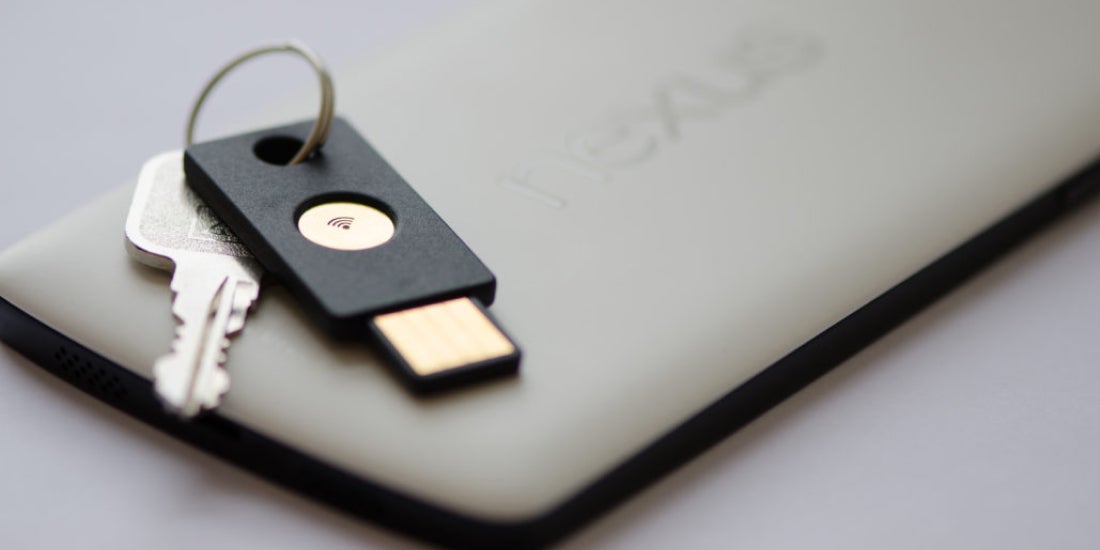
The YubiKey NEO differs from the standard YubiKey as it can become a composite USB device – presenting both a HID (Keyboard) and CCID (SmartCard) device to the host. This allows us to support all the great features of the standard YubiKey and add new support for SmartCard functions. Our last NEO post described the OpenPGP NEO App that ships with the production YubiKey NEO.
In this post, we want to describe how to control how the YubiKey NEO presents itself to the host computer.
We ship the YubiKey NEO with just the HID (keyboard) USB device enabled. We did this to maximise compatibility with the YubiKey Standard and the pre-production YubiKey NEO – neither of which support SmartCard functions. To enable the OpenPGP SmartCard function, you need to configure the YubiKey NEO to switch on the CCID interface. So far, we have updated the ykpersonalize command line to support the “-m” switch; this controls the composite modes the YubiKey NEO exhibits. Be careful, you can use the -m command to remove HID support; as ykpersonalize only works with the HID interface, this means you cannot use ykpersonalize anymore if you remove HID support. We have added the tool ykneo-ccid-modeswitch which allows you to enable HID if it gets removed!
Here are the common modes:
- -m0 HID (OTP) mode
- -m1 CCID (OpenPGP only – no OTP) – warning – you cannot use ykpersonalize after this setting!
- -m2 HID & CCID Only (OTP & OpenPGP)
- -m82 HID & CCID (OTP and OpenPGP) EJECT Flag set – allows SmartCard and OTP concurrently.
- (Updated: 9/28/2015; You can enable CCID, OTP, and U2F with -m86 on YubiKey NEOs with 3.3 firmware or higher.)
The EJECT_FLAG (0x80) operates as follows:
- with mode 1 with the EJECT_FLAG set, when touching the button the NEO will “eject” the smart card, making it unavailable to the host, when touching again it will be “inserted” again.
- with mode 2 with the EJECT_FLAG set, when touching the button the NEO will “eject” the smart card, send the OTP from the HID interface and then “insert” the smart-card.


