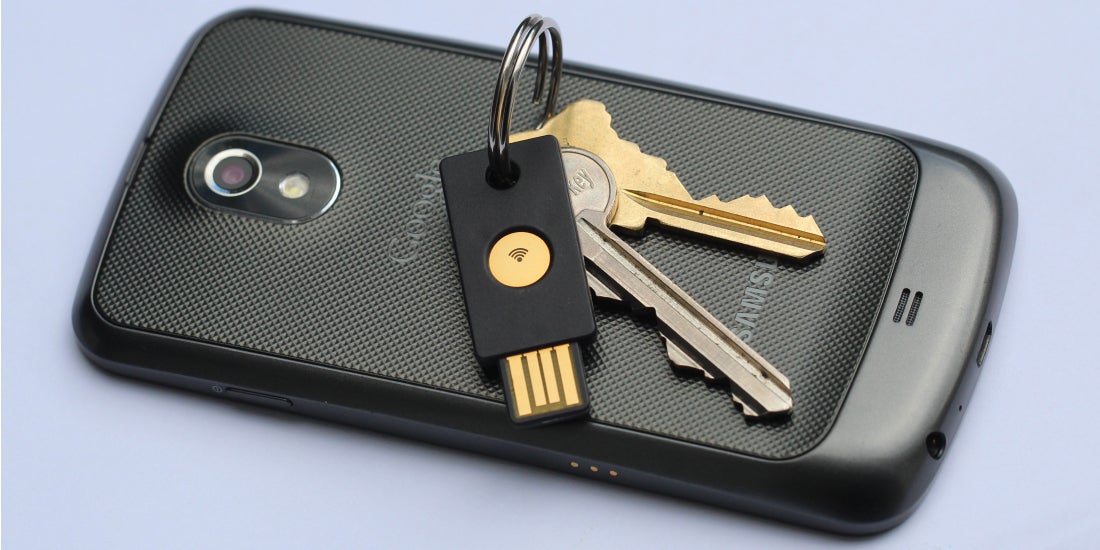
In an earlier post, we went through the steps of enabling and setting up the OpenPGP applet on a production YubiKey NEO. In this post, we’ll be expanding on how to use it with Claws Mail to sign and encrypt emails, one of the main uses of PGP encryption. Claws Mail is an open source email and news client based on GTK+. It is widely available – more information can be found here.
First, make sure your YubiKey NEO is properly configured. For information on how to do so, please refer to this. A properly configured YubiKey NEO should behave no different from a smartcard and its reader – as such the steps described here are exactly the same as that when using an OpenPGP smartcard. If you’ve used Claws Mail with an OpenPGP smartcard before, this should be no problem for you.
Once done, open Claws Mail. Configure it for your chosen email service and ensure that the PGP plugins are loaded, as shown in the screenshot below.
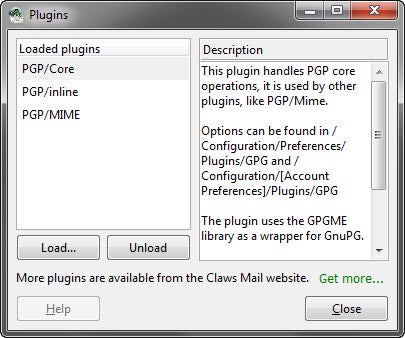
Assuming everything is configured correctly, incoming encrypted messages will be automatically decrypted and incoming signed messages will have their signatures automatically validated – very convenient!
To send your own signed or encrypted messages, click on Options, Privacy System then pick either None, PGP MIME or PGP Inline. Choose PGP MIME if the email client used by your intended recipient supports the MIME protocol and PGP Inline if it does not. In the screenshot below, PGP Inline is selected.
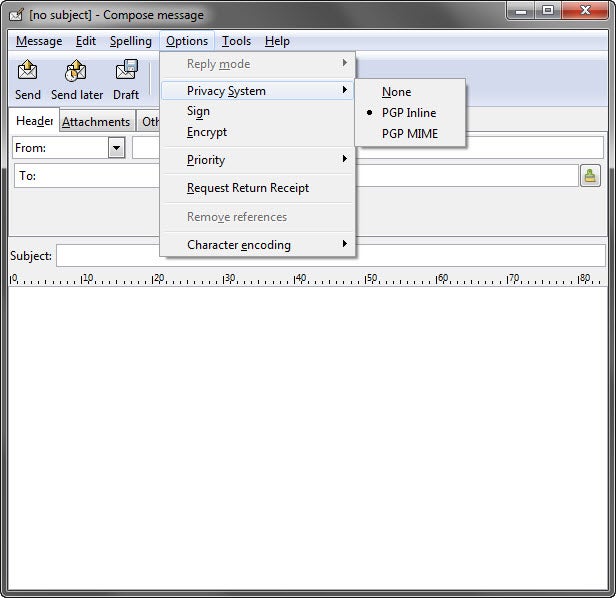
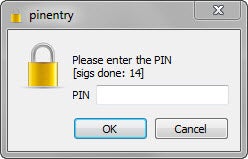
Before sending your message, click on Options then Sign to sign it or Encrypt to encrypt it. Then enter your PIN when requested and it will be sent!
Enjoy using your YubiKey NEO with Claws Mail!

