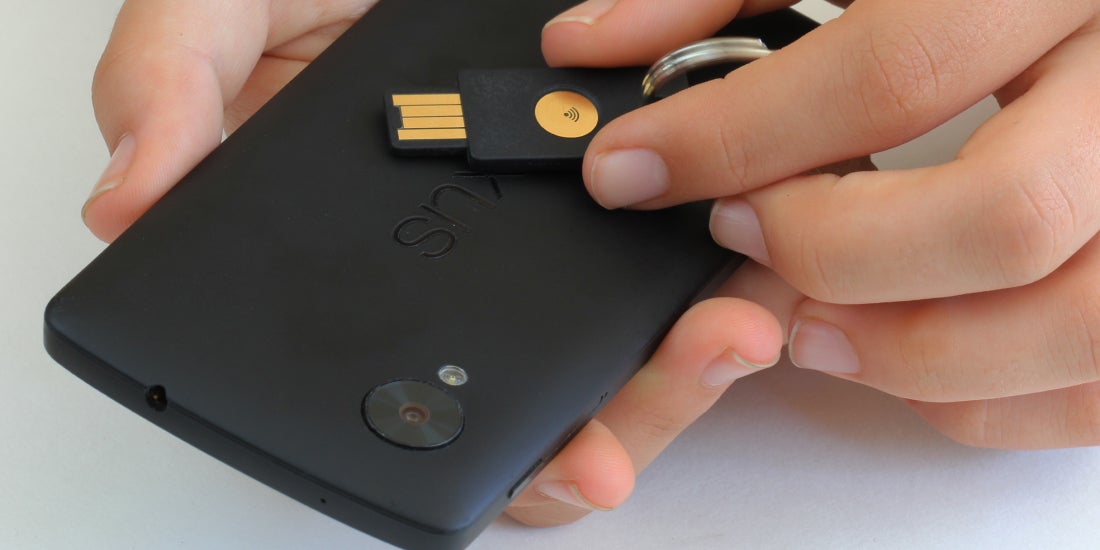
In this post, we will take you through the steps to enable the YubiKey NEO’s OpenPGP applet on a production YubiKey NEO. YubiKey NEOs are currently shipped with an OpenPGP applet already installed but disabled. You will need to enable the Applet functionality of the YubiKey NEO before you can use the OpenPGP applet.
To do this, you will need to use the command line interface (CLI) version of the YubiKey Personalization Tool. If you are not familiar with using command line tools, this applet is probably not for you. To download ykpersonalize please click here.
Once you have installed the ykpersonalize software, insert your YubiKey NEO and you can check the version with the ykinfo -v command – which shows version: 3.0.1 for our YubiKey NEO. To enable your YubiKey NEO’s Smartcard interface (CCID), enter the command ykpersonalize -m82 as:
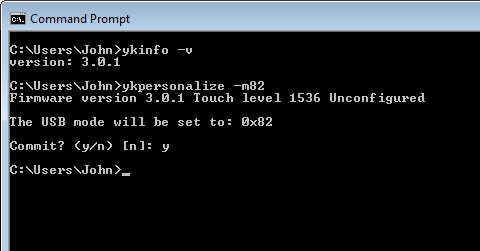
The -m option is the mode command. To see the different modes, enter ykpersonalize –help. Mode 82 (in hex) enables the YubiKey NEO as a composite USB device (HID + CCID) and allows OTPs to be emitted while in use as a smart card. Once you have changed the mode, you need to re-boot the YubiKey – so remove and re-insert it.
Now our NEO App: OpenPGP is visible we can use the gpg program to set-up a new smart card: gpg –card-edit and then enter the admin command to enable admin commands. The command to create a new set of public/private key pairs is generate. You should see something like:
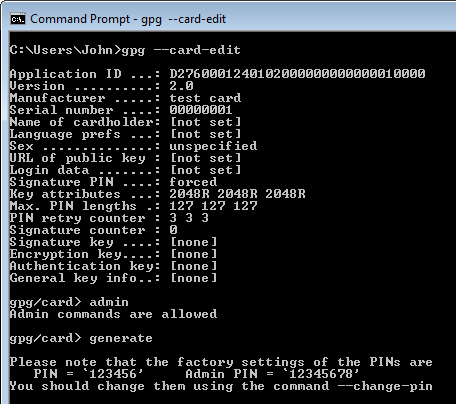
Note the default PINs as you will need to enter them into the pop ups – e.g.:
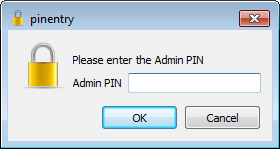
Once you enter the Admin and User PINs, gpg will ask you for various settings. Once you select Okay the YubiKey NEO will work for between 1 minute and 3 minutes to generate 3 key pairs. It took our YubiKey NEO 1 minute 40 seconds.
WARNING: You cannot backup the secret keys – so if you lose the YubiKey NEO, re-generate another key pair or other lose the key pair there is no way to retrieve it! When you encrypt a file, make sure you have a plain text backup.
It is recommended to backup the Public key – we often use the Export Certificates to Server function in Kleopatra to do this. This is our screen:
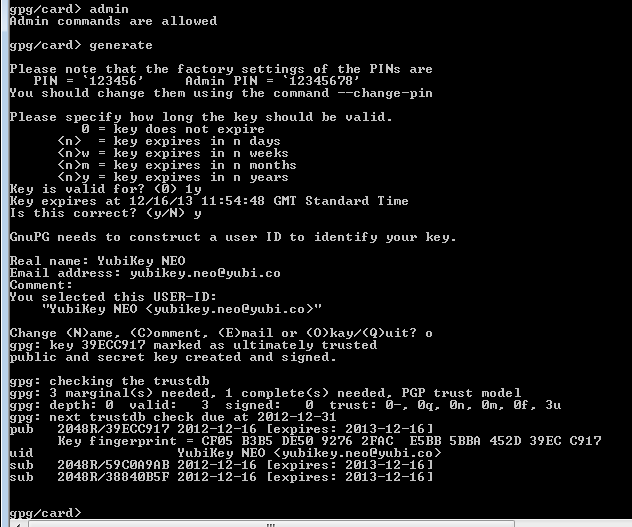
The public keys and private key stubs are automatically loaded into the gpg database; we are running Kleopatra – so before completing, Kleopatra showed my soft keys:
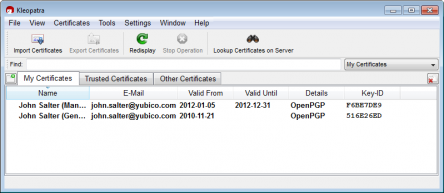
And afterwards Kleopatra shows the YubiKey NEO with the SmartCard icon:
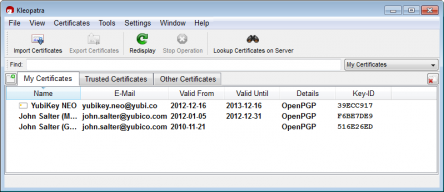
With details:
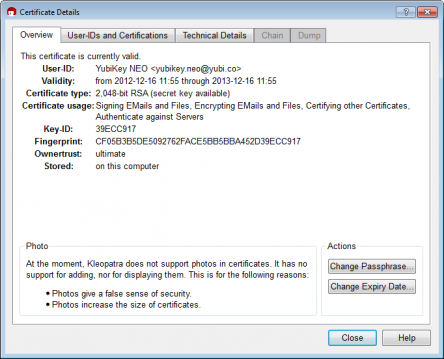
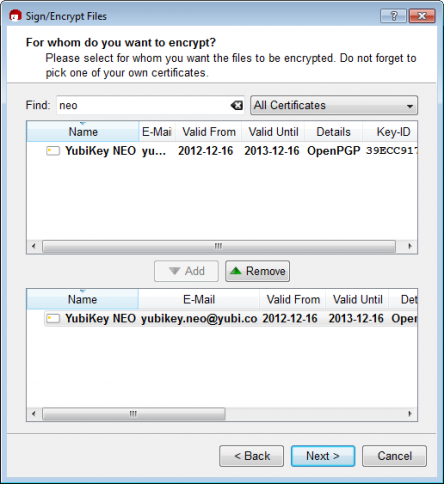
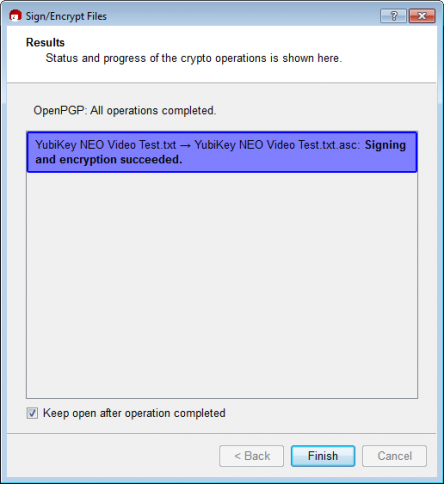
We can now select my YubiKey NEO to sign and encrypt files e.g.:
The source code for the YubiKey NEO OpenPGP app is available here.

